Development
The following guide is intended to help developers who maintain or want to make changes to the Nexus Graph.
Prerequisites
- Node 18 (Install instruction can be found here)
- Yarn (
npm install --global yarn)
-
Xcode CLI tools: We'll need to first install Xcode CLI tools. Run this command and follow the instructions
xcode-select --install -
Homebrew: Install Homebrew, and then run the following command to install GPG as we will need it later
brew install gnupg
Getting the Source Codes
To get started, clone the repo:
git clone git@github.com:QubitPi/nexusgraph.git
cd nexusgraph
We're going to be working out of this repository for the remainder of the setup.
Configuring Environment Variables
Simply use the .env.dev:
cp .env.dev .env
We can now skip the rest of the section. In case one needs more details, however, the details below discusses each them
Create a .env file which contains all Dev runtime variables Nexus Graph needs. The following table
summarizes all of the variables Nexus Graph possibily needs:
| Config Name | Required in Dev | Required in Test | Required in Prod |
|---|---|---|---|
| NLP_CLIENT | ✅ | ✅ | ✅ |
| NLP_API_URL | ❌ | ❌ | ✅ |
| GRAPH_API_CLIENT | ✅ | ✅ | ✅ |
| GRAPH_API_ENDPOINT | ❌ | ❌ | ✅ |
| SKIP_SIGN_IN | ✅ | ✅ | ✅ |
| LOGTO_APP_ID | ❌ | ✅ | ✅ |
| LOGTO_ENDPOINT_URL | ❌ | ✅ | ✅ |
| LOGTO_API_RESOURCE_IDENTIFIER | ❌ | ✅ | ✅ |
| LOGTO_SIGN_IN_CALLBACK_URL | ❌ | ✅ | ✅ |
| LOGTO_SIGN_OUT_REDIRECT_URL | ❌ | ✅ | ✅ |
| TEST_USER_EMAIL | ❌ | ✅ | ❌ |
| TEST_USER_PASSWORD | ❌ | ✅ | ❌ |
-
NLP_CLIENT is the type of AI client for AI Named Entity Extraction. Allowed values are
JsonServerClientis for dev and testTheresaClientis our paid AI service
-
NLP_API_URL is the URL of AI Named Entity Extraction service
-
GRAPH_API_CLIENT is the type of Graph API client for CRUD operations. Allowed values are
JsonGraphQLServerClientis for dev and testAstraiosGraphClientis our paid Graph API serivce
-
GRAPH_API_ENDPOINT is the URL of the Graph API service. Define the endpoint that sends GraphQL requests to Astraios in our paid service.
提示Astraios is a JSR 370 web service template that lets us spin up model driven GraphQL or JSON API web service with minimal effort.
-
Authentication: Logto offers a comprehensive identity solution covering both the front and backend, complete with pre-built infrastructure and enterprise-grade solutions. In the Nexus Graph we use Logto to verify that the user has logged in and automatically generate the user login page
-
SKIP_SIGN_IN is a flag variable which must be set to
truein Dev andfalsein Test & Prod environments -
LOGTO_APP_ID is the standard logto app ID
-
LOGTO_ENDPOINT_URL is the URL of our server that will receive the webhook POST requests when the event occurs.
-
LOGTO_API_RESOURCE_IDENTIFIER is the ID of Logto API resource associated with the access token
-
LOGTO_SIGN_IN_CALLBACK_URL is the redirect URL after authentication
提示Redirect URI is an OAuth 2.0 concept which implies the location should redirect after authentication
-
LOGTO_SIGN_OUT_REDIRECT_URL is, similarly, the redirect URL after logging out of Nexus Graph
-
TEST_USER_EMAIL defines a user name dedicated to local login in test. Email is used for sign-in with username and password.
-
TEST_USER_PASSWORD is used for sign-in with username and password. In Nexus Graph the TEST_USER_PASSWORD defines a password dedicated to local login
-
Installing Dependencies
Nexus Graph uses yarn workspace to manage different components.
The command below shall install all the dependencies and put them in node_modules:
yarn
Once this command has finished we'll have Nexus Graph ready in development mode with all its required dependencies.
Starting Nexus Graph
Starting Dev AI Server
yarn start:ai
NER data source is backed by json-server mock. They can be viewed by the following 3 links:
Starting Graph API Services
The schema is designed so that creating a new graph/node/link will auto generate a database ID. This is very important because we want to make surrogate key a read-only field on client side.
yarn start:graph-api
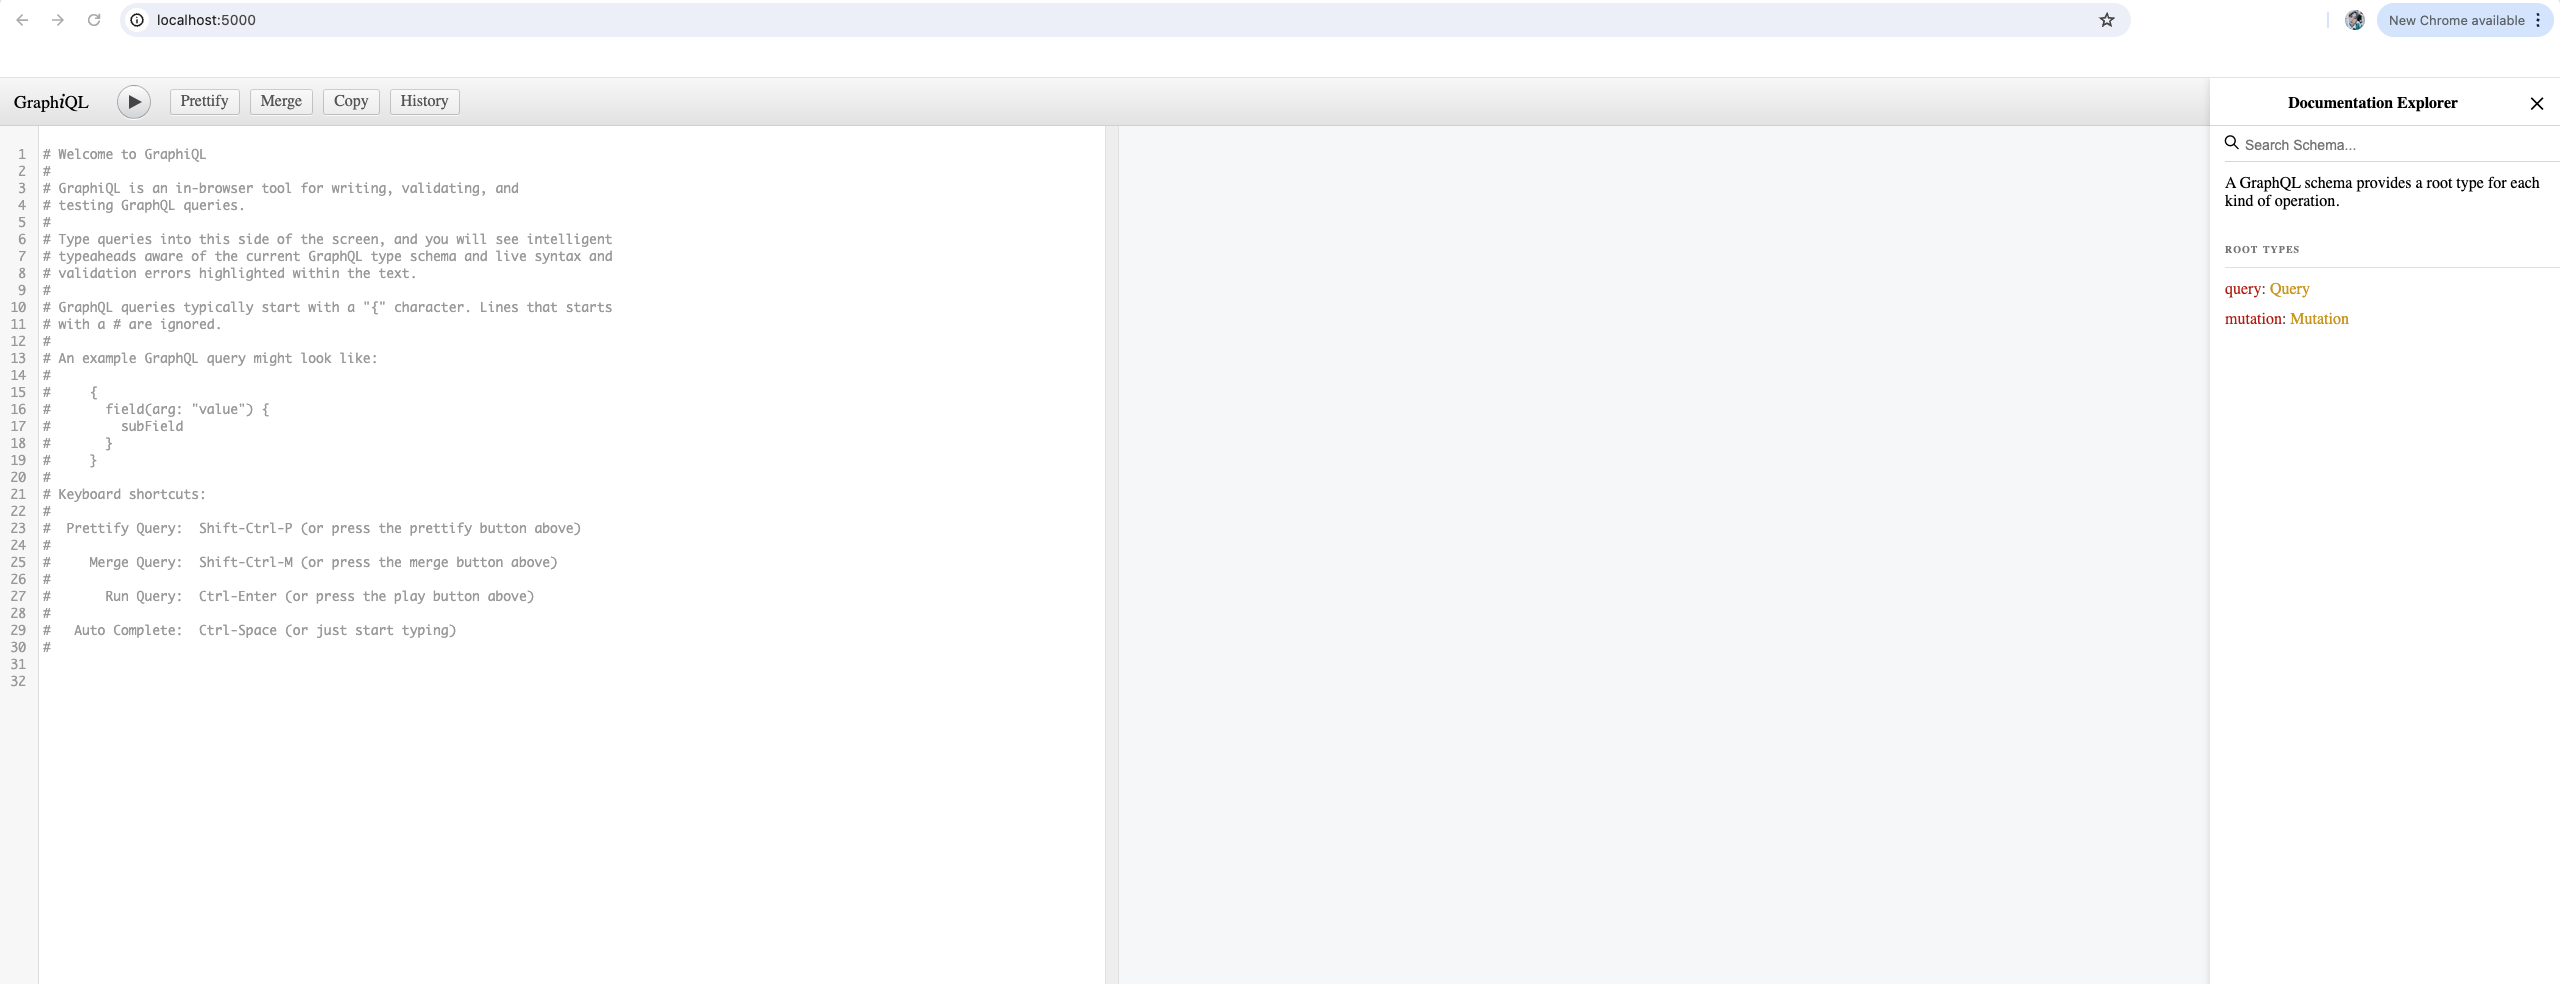
Entering http://localhost:5000/ will open up the GraphiQL:
Starting Nexus Graph in Dev Mode
Finally we can run the development server at http://localhost:3000:
yarn start
which Runs the app in the development mode. The page will reload if you make edits. You will also see any lint errors in the console.
Note that Logto Login is disabled by default in dev mode. To turn it on, make sure to put
SKIP_SIGN_IN=false
in .env
Writing TypeDoc
The nexusgraph API page was automatically generated by TypeDoc, which parses the inline documentation of nexusgraph source code. To generated them locally
cd docs
yarn typedoc
We can have TypeDoc watch for changes from the command line by using
yarn typedoc-watch
Local E2E Testing
We use Cypress for E2E testing.
-
Reload environment variables for testing
cp .env.test .env -
Open up Cypress End-to-End testing dashboard
yarn cypress:open提示The E2E tests spins up an in-memory database to store the test graphs.
Happy building awesome knowledge graph app!
Submitting Code
Signing Commits with GPG Key
The purpose of GPG key is to sign the code for the authorship of our contributor.

This section teaches how to create a GPG key locally, upload it to GitHub, and use to sign future commits.
Create GPG Key Locally
In terminal, execute
gpg --full-generate-key
- key size must be 4096 bits
- email must be the one associated with your GitHub account
To obtain the GPG key ID created just now:
gpg --list-secret-keys --keyid-format=long
An example output might be:
$ gpg --list-secret-keys --keyid-format=long
/Users/hubot/.gnupg/secring.gpg
------------------------------------
sec   4096R/3AA5C34371567BD2 2016-03-10 [expires: 2017-03-10]
uid                          Hubot <hubot@example.com>
ssb   4096R/4BB6D45482678BE3 2016-03-10
In the example above, the GPG key ID is 3AA5C34371567BD2; we will be using this key ID in the following discussion
In case we would want to delete that key, we could do so by
gpg --delete-secret-keys 3AA5C34371567BD2
Configuring git to Use GPG Key
We now instruct git to pick up the GPG key at every git commit:
git config --global user.signingkey 3AA5C34371567BD2
Uploading GPG Key to GitHub
Printout the GPG key in ASCII armor format:
gpg --armor --export 3AA5C34371567BD2
Copy the command output, i.e. the GPG key, including the -----BEGIN PGP PUBLIC KEY BLOCK-----, the -----END PGP PUBLIC KEY BLOCK-----, as well as the contents in between.
Then following the official documentation to upload the GPG key onto your GitHub account.
Signing Commits
If this is your first time submitting code using git, make sure to bind your GitHub username and account email first:
git config --global user.name "<username>"
git config --global user.email "<email>"
- Substitute
<username>and<email>with your account info accordingly
To commit with GPG-signed:
git commit -S -m "<commit message>"
where
-Stells git to sign the commit with GPG key<commit message>should be adjusted accordingly
If the commit command above errors with gpg: signing failed: Inappropriate ioctl for device message, execute:
export GPG_TTY=$(tty)
then re-run the commit
Submitting
Before committing your code, please run the following checks locally in order to give ourselves better confidence that the code will pass the automated checks online:
-
Prettier our code:
npx prettier --write . -
Check code style using ESLint:
npx eslint .警告ESLint currently does not run on documentation source codes, i.e.
/docs -
Run all tests
yarn test
CI/CD
We use GitHub Actions for CI/CD, which contains 3 parts in the following order:
-
Code style check
-
Tests
- Unit tests
- E2E tests via Cypress
- JSON schema tests
- Lighthouse test, an idea learned from Docusaurus
Each part doesn't run until its previous dependency finishes successfully
Neo4J Arc Library
Load Neo4J Arc from Local
Nexus Graph's graphing capabilities is externalized to Neo4J's graphing library. When we update the library and would like to see its immediate effects, we could have Nexus Graph manually depend on the local version:
git clone https://github.com/QubitPi/neo4j-browser.git
cd neo4j-browser/src/neo4j-arc
yarn && yarn build
In nexusgraph, delete the "neo4j-devtools-arc": "^x.y.z", from dependencies section in
packages/nexusgraph-graph/package.json
and run
yarn add /absolute/path/to/neo4j-browser/src/neo4j-arc/
yarn
yarn start
When we are done, do not forget to put "neo4j-devtools-arc": "^x.y.z" back into package.json
Troubleshooting
TypeError: Reflect.hasOwnMetadata is not a function
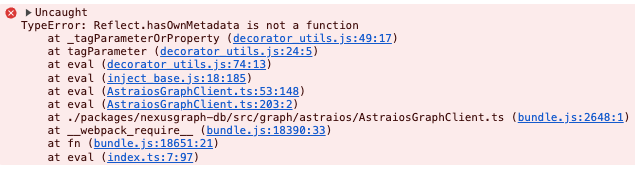
This is because we are missing a simple import somewhere. Looking at the error trace, it mentions
AstraiosGraphClient.ts. Simply put a import "reflect-metadata"; import
solves the problem
React: Cannot assign to read only property xxx of object #<Object>
This was caused by immer's produce function which builds read-only deep copy of object. In Nexus Graph, all redux
states are make immutable using immer, because, by experience, immutable states prevents bugs. As a result, all
in-memory state mutations should utilize our dedicated immutable.ts module. Failed to do that could result in the
error above because that indictes one is directly mutating our immutable states
ESLint Reports False-Negative
Suppose we have the following TypeScript code
node.radius + 25;
but ESLint complains that
error Operands of '+' operation with any is possible only with string, number, bigint or any @typescript-eslint/restrict-plus-operands
And we are sure that node.radius by definition is a number. This could happend due to the incorrect import, which
results node type not properly imported. As a result, TypeScript sees node.radius as to type any because it
doesn't know what type node is
GitHub Actions Doesn't Start
If all syntax are correct, simply cancelled the job and re-run. It might be something on GitHub's end.